
Create a SAML Integration in Okta
Setting up a SAML integration allows your users to securely access applications using their Okta credentials. This guide walks you through the process of creating a new SAML 2.0 integration using the Okta administrator dashboard.
1. Navigate to Applications
To begin the setup, log in to your Okta Admin Console and follow this path:
Go to Applications in the sidebar menu.
Select Applications from the dropdown.
Click the Create App Integration button.
2. Select Integration Type
In the "Create a new app integration" dialog, you must specify the sign-in method and the experience type:
Sign-in method: Select SAML 2.0.
Experience: Ensure Classic experience is selected.
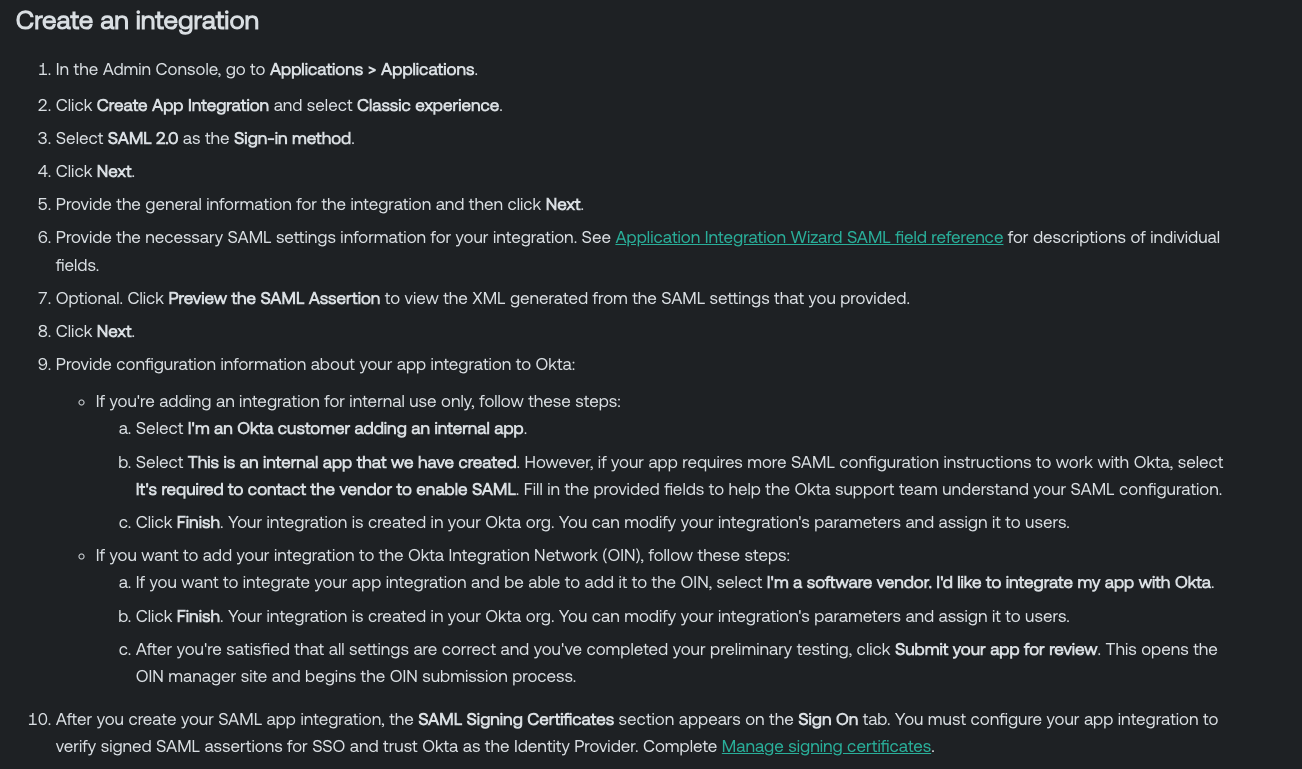
Click Next to proceed.
3. Choose Your Configuration Path
Depending on your goals, you have two primary ways to proceed with the integration:
Path A: Create an Internal Application
If you are building an integration for your own organization's use, you will configure the settings directly within this workflow. This is the standard path for internal tools or private integrations.
Path B: Add to the Okta Integration Network (OIN)
If you intend to make your application available to all Okta customers, you can choose to add it to the OIN. This involves a submission process to ensure the integration meets Okta's standards for public listing.
4. Preview and Finalize
Before completing the setup, you have the option to Preview SAML Assertion. This allows you to verify that the attributes and statements are correctly formatted before the integration goes live.
Important: SAML Signing Certificates
Once the initial integration is created, you must navigate to the Sign On tab of your new application. From there, you are required to configure the SAML Signing Certificates to ensure secure communication between Okta and your application.